How to Secure Email
Option 1: Using Outlook Web Access
- Make sure your browser is in the Outlook Web Access
- Click “New Mail”

- Click “Options”

- Click the lock icon

- Select the appropriate protection from the dropdown
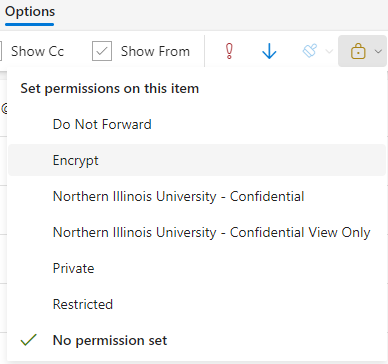
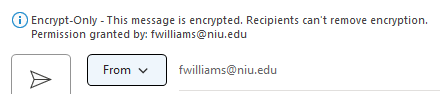
- You will notice a new information bar that indicates the level of protection selected

- You may change the permissions and protection at any time before sending the email. Once the email is sent you cannot change the permissions or protection.
- Complete and send your email as normal.
Option 2: Using the Outlook Client
The steps are exactly the same as when using the web access, but the look is a little different.
- Click “New Mail”

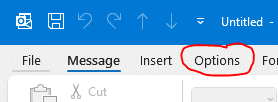
- Click “Options”
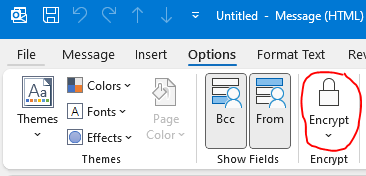
- Click the lock icon
- Select the appropriate protection from the dropdown
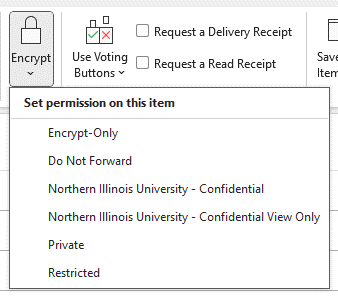
- You will notice a new information bar that indicates the level of protection selected
- You may change the permissions and protection at any time before sending the email. Just click the lock icon again and select a different level of protection. Once the email is sent you cannot change the permissions or protection.
- Complete and send your email as normal.
Contact Us
Division of Information Technology815-753-8100
ServiceDesk@niu.edu